Making a Spooky Mirror

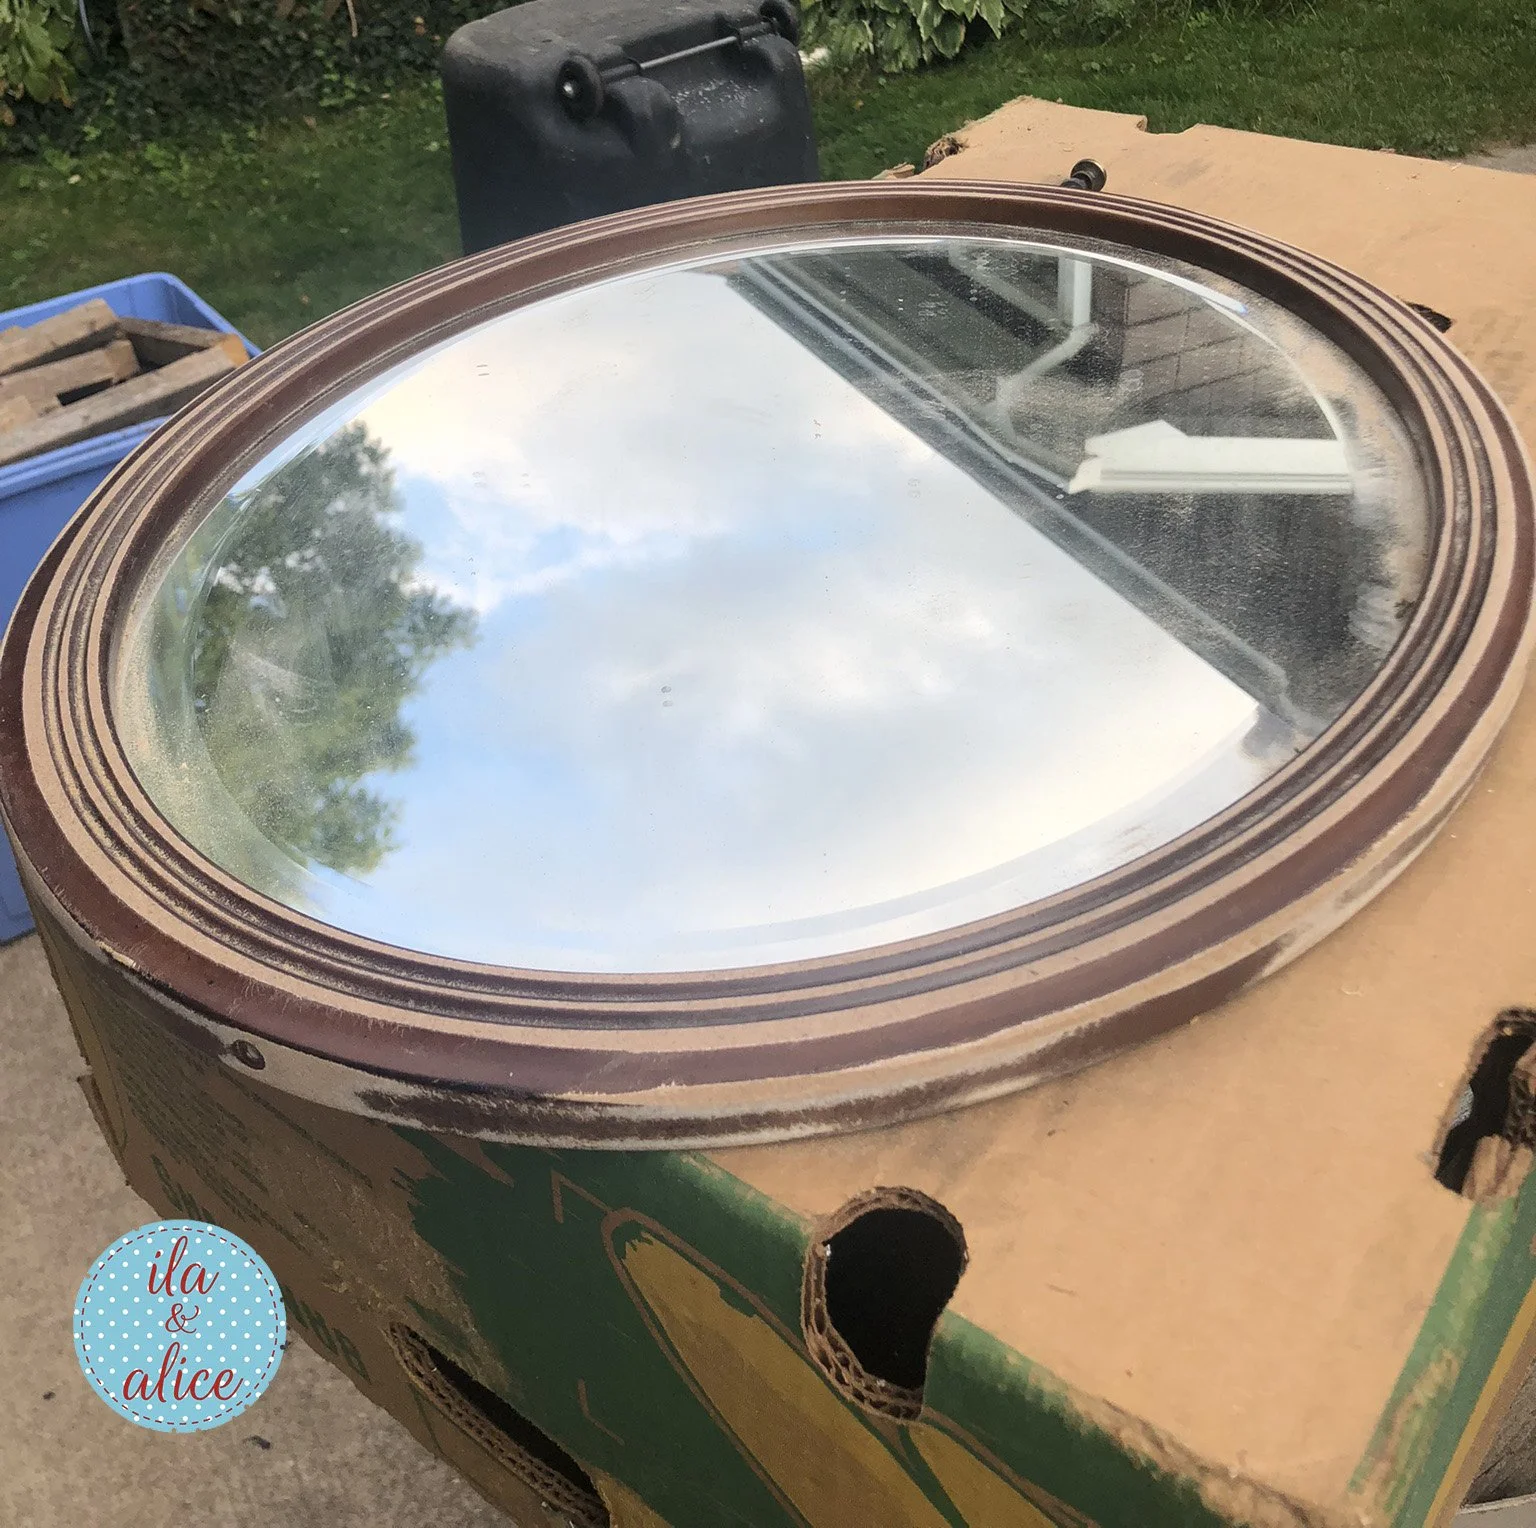
I had wanted to make a creepy mirror for quite awhile and when my neighbour threw out an old dressing table with this great mirror attached, I knew my time had come. I rescued the mirror from the certain trash heap fate and went to work :)
The items I used to make this mirror are:
Mirror in frame-(I wanted a mirror in an actual frame so I could easy use the frame to help hang the mirror above my mantle) It doesn’t really matter if the mirror itself is in good condition bc we are going to be sanding down the mirror itself.
2. Fine grit sandpaper and a handheld sander3. Spray paint of your choice to paint the frame
4. Spray adhesive
5. Cheese cloth or loosely woven netting (from Dollar Store) cloth/mesh
6. Creepy (face) image
7. Black paper and glue
The frame that I am using with the mirror is a sort of particle board type mash of wood. It is soft by nature and was relatively easy to sand. Most wood frames will have a sort of finish or gloss on them and plastic frames will have some sort of coating. You need to give either kind of frame a sanding to help the new paint to stick and to help create the creepy or spooky look you want.
But!! First things first….we need to take the mirror out of the frame.


Once I removed the mirror from the frame, I went ahead and sanded the frame down quite a bit. and then I sanded down the frame around the mirror itself as well.
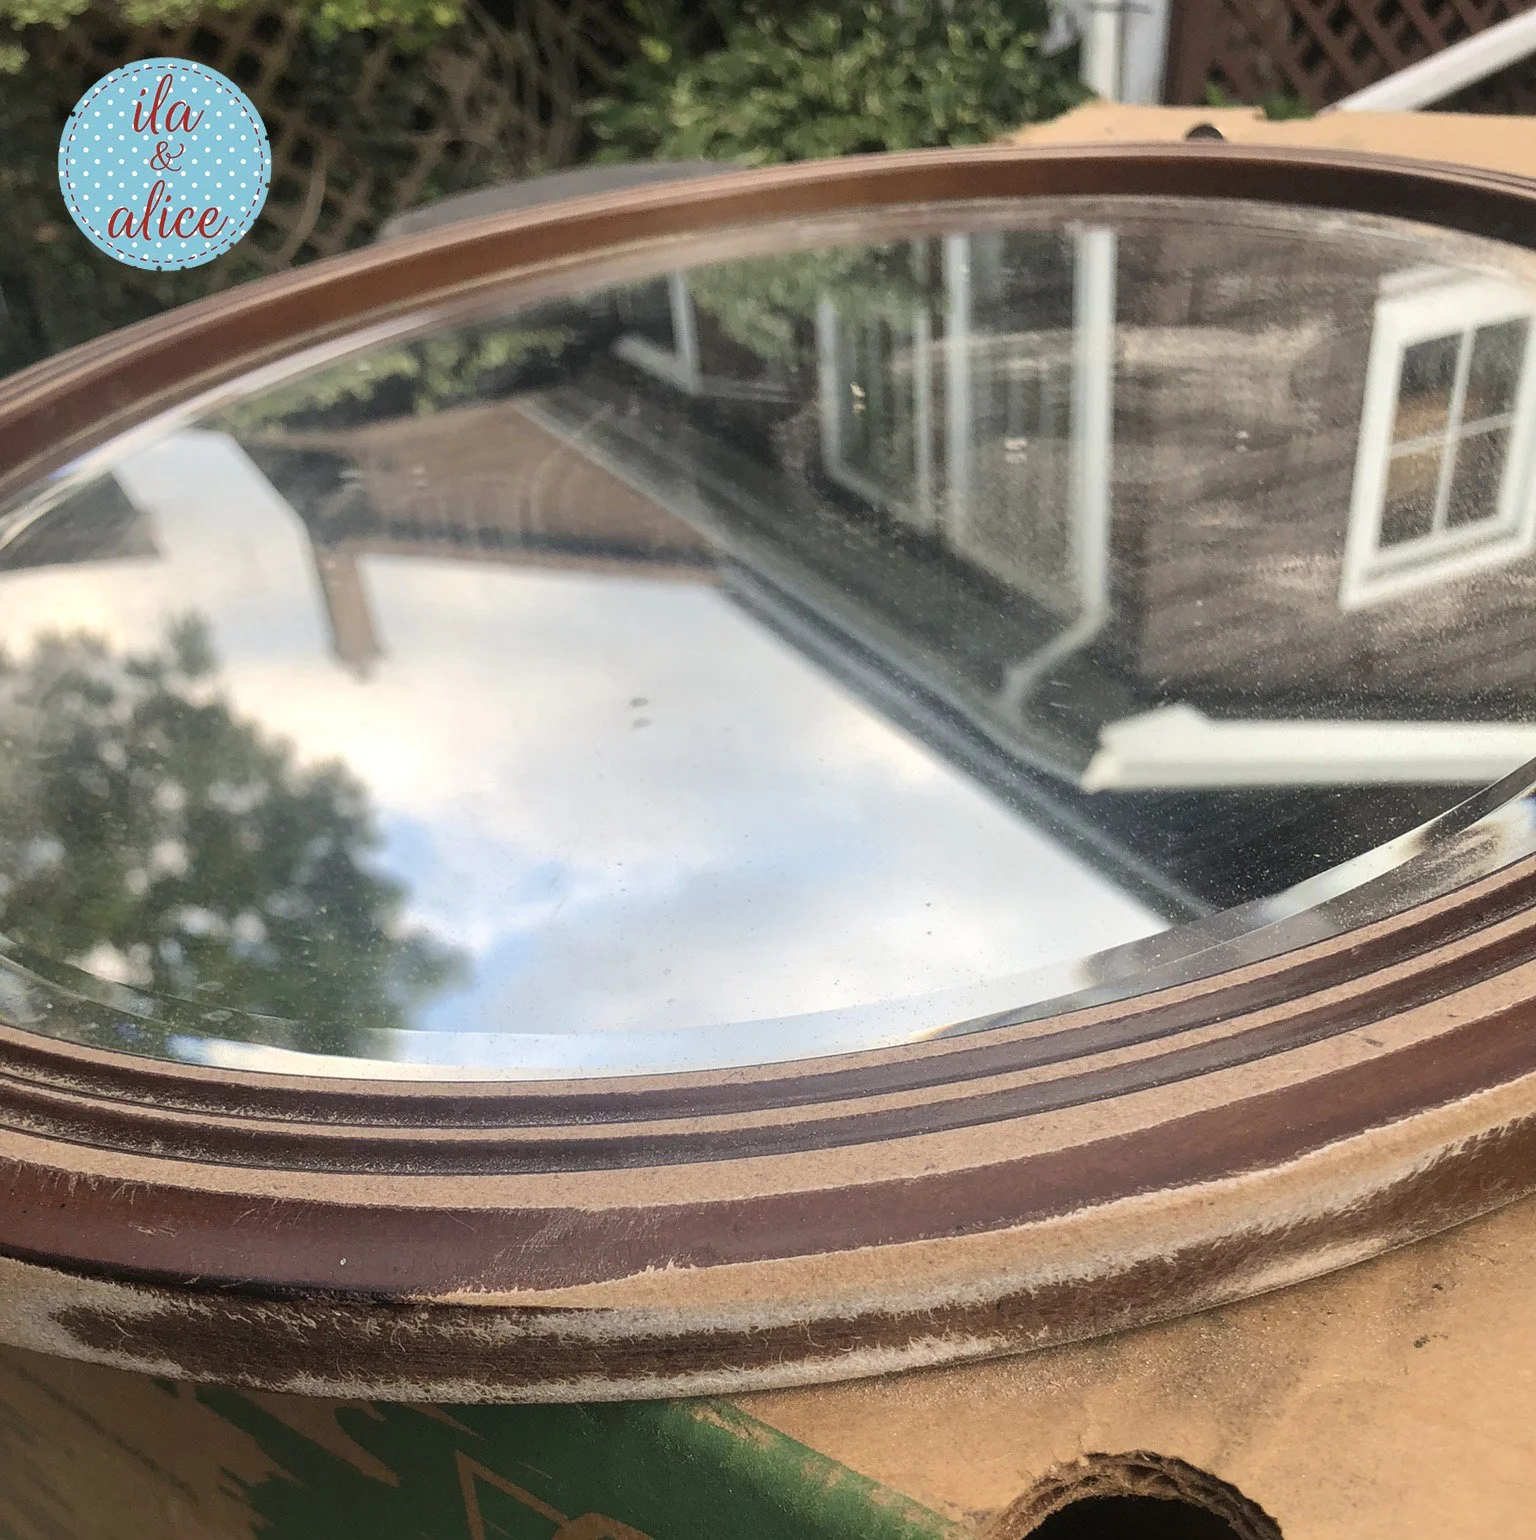
After I sanded around the mirror frame I decided the take the mirror out and start sanding down the back or “inside” of the mirror.

Using the fine grit sandpaper, I gently sanded away the back or inside of the mirror careful not to sand away all of the coating or paint on the back AND! I was mindful of not sanding too neatly or orderly so that the mirror had some irregularities which would help make my image look old and decrepit and spooky. There is supposed to be a ghost in this mirror and I don’t want her to look pristine or tidy LOL! I also used a light hand when sanding as I did not want to break the mirror by pushing too hard or leaning on it. I do not need 7 years bad luck!

This was how I left the back. I was able to sand off the sticky tape and create a really grainy surface for my image to show through.

If you look closely, we can see an image of a face in the mirror. I had found this large decal sticker at the dollar store last year and I used it as a prototype while sanding down the mirror. It shows through just enough to be creepy but highly effective.
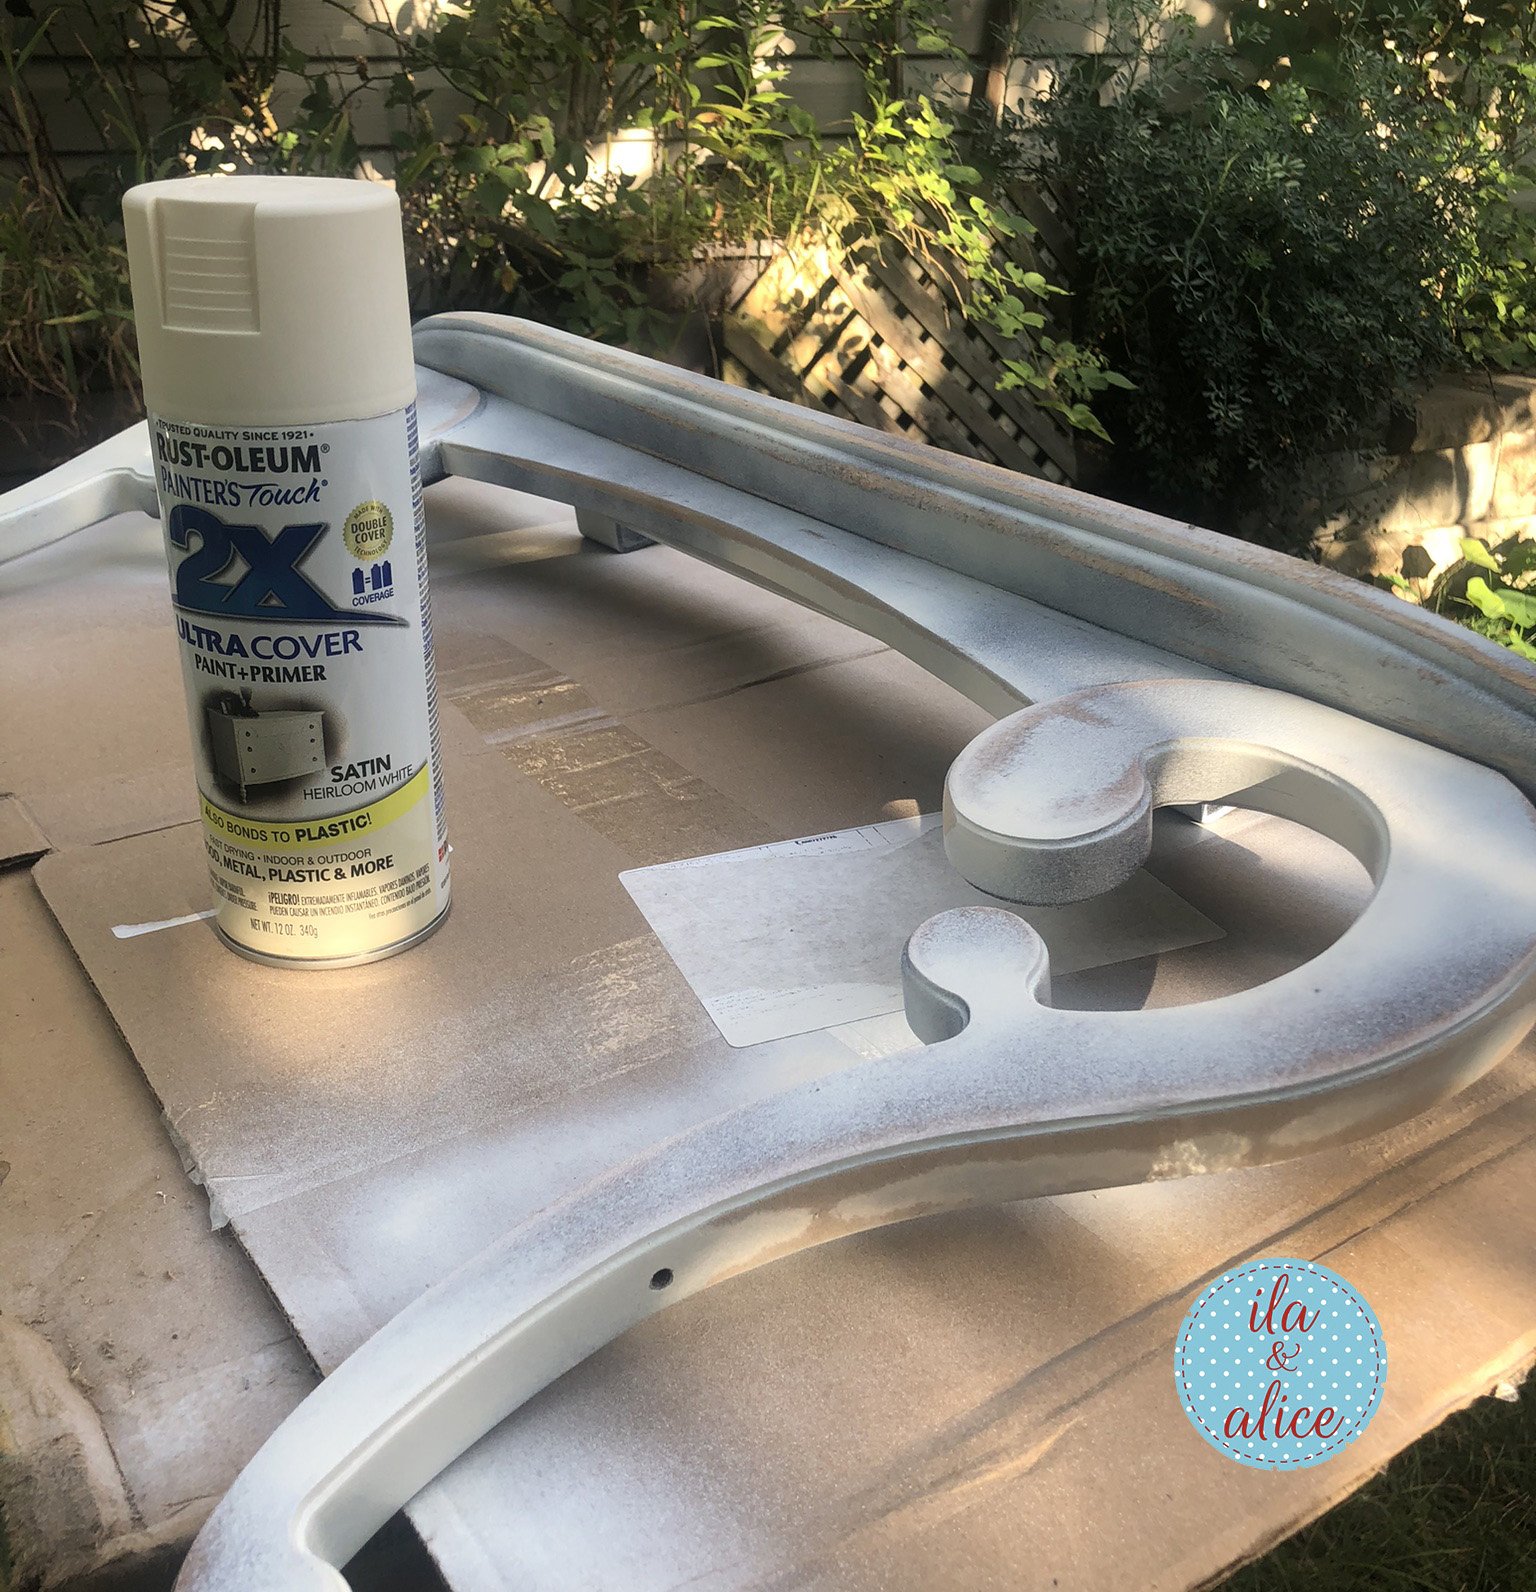
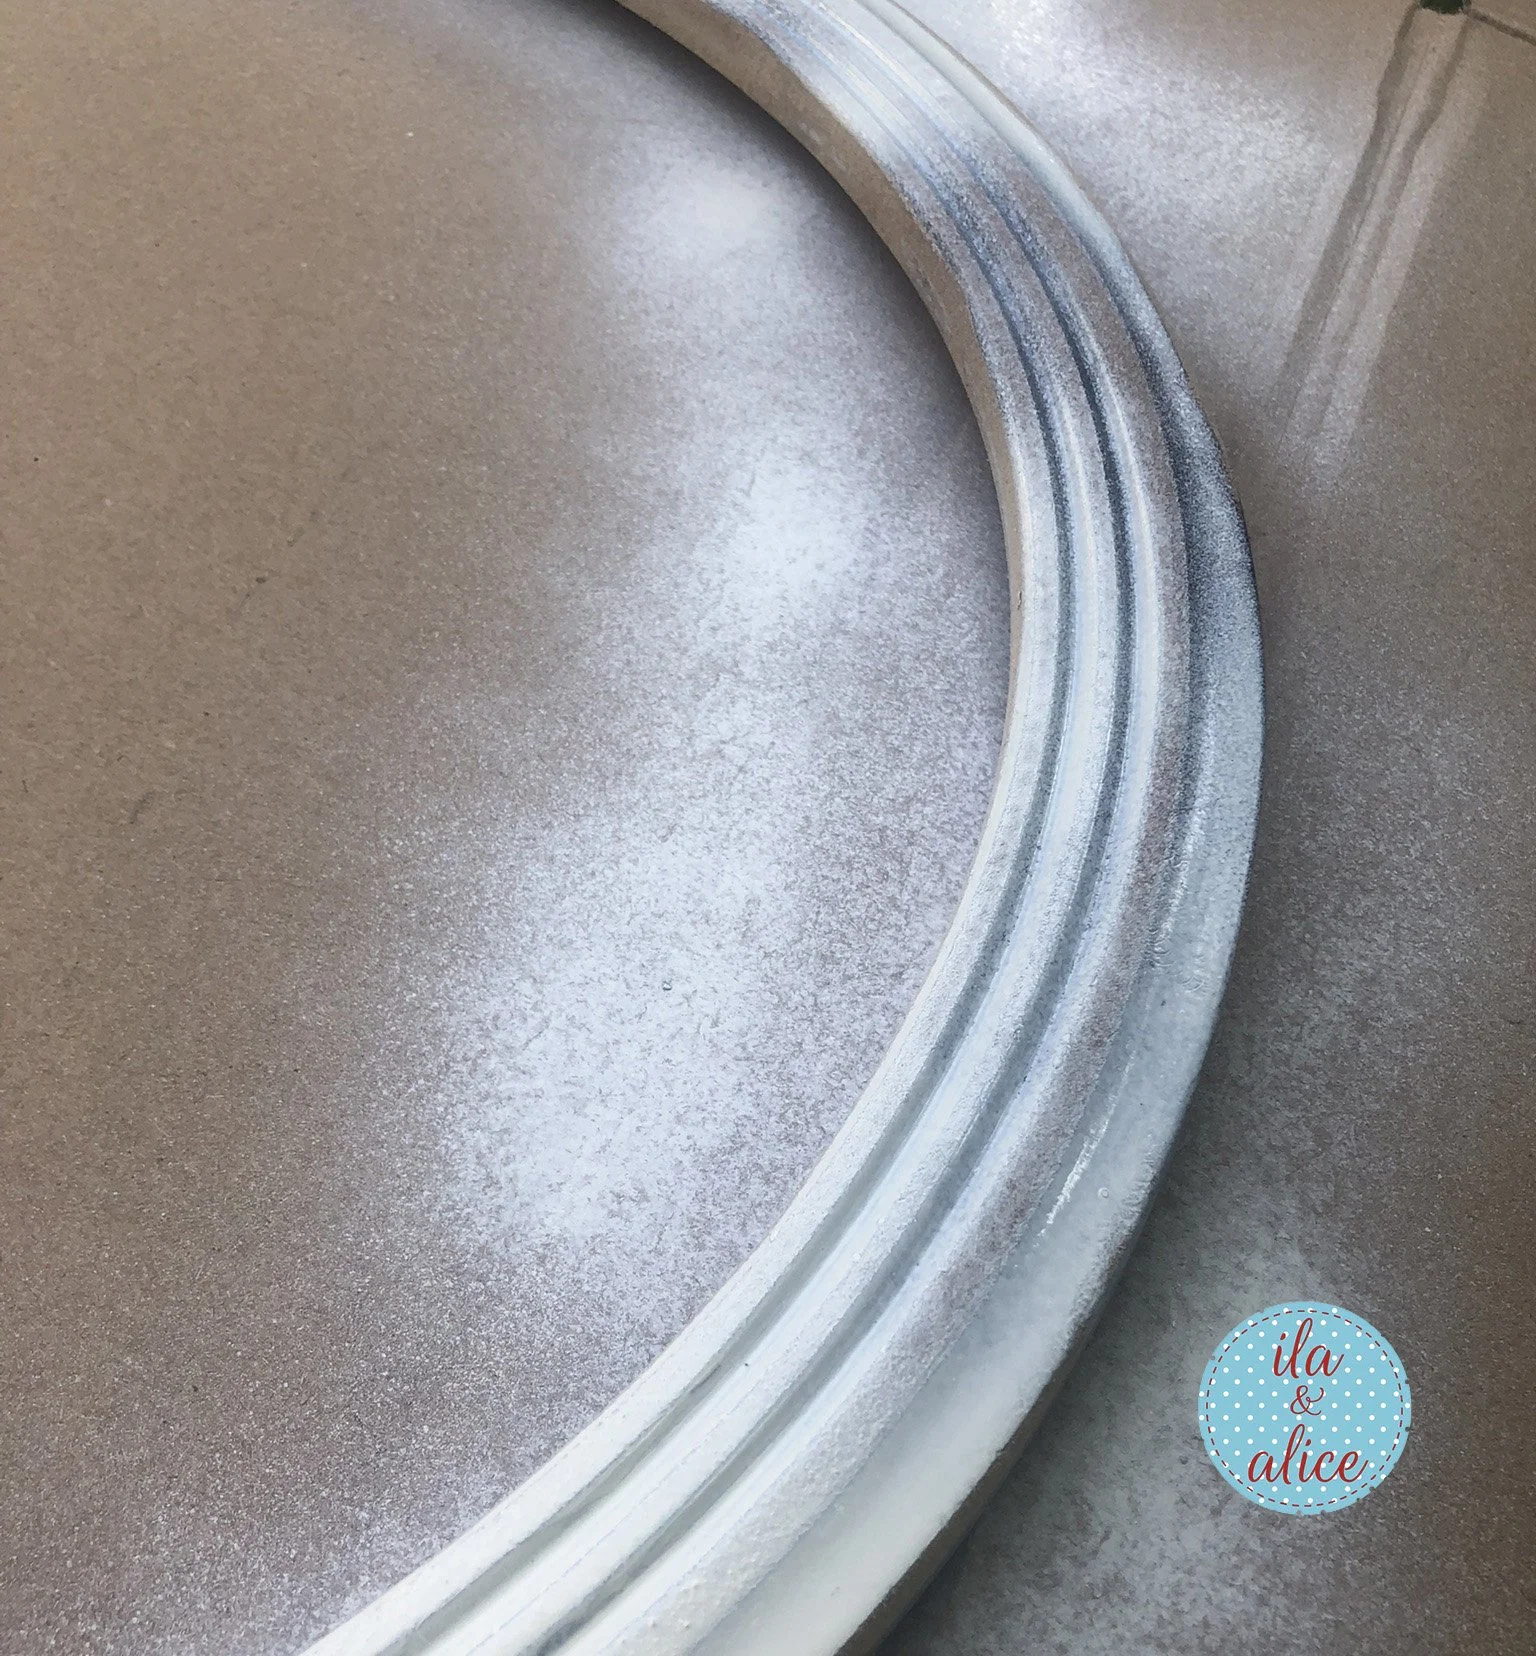
Okay with everything sanded, it was time to paint the frame before I attached it back to the mirror. I wasn’t sure at this point exactly how I wanted to paint it so I decided to start with a light colour. I always start these projects with a lighter colour because I find it easier to spray and layer paint over a lighter colour at the beginning to achieve an interesting layered look with paint. I am totally winging it here. I try not to over think this. I remind myself that this is supposed to be an old spooky mirror and that the colours/paint job do not have to be perfect sorta speak.

I did use a crackle medium but it didn’t really show through or work like it had in the past. I didn’t bother going down that road because the frame will be in the dark most of the time and the crackle effect won’t really be seen from a distance anyhow.
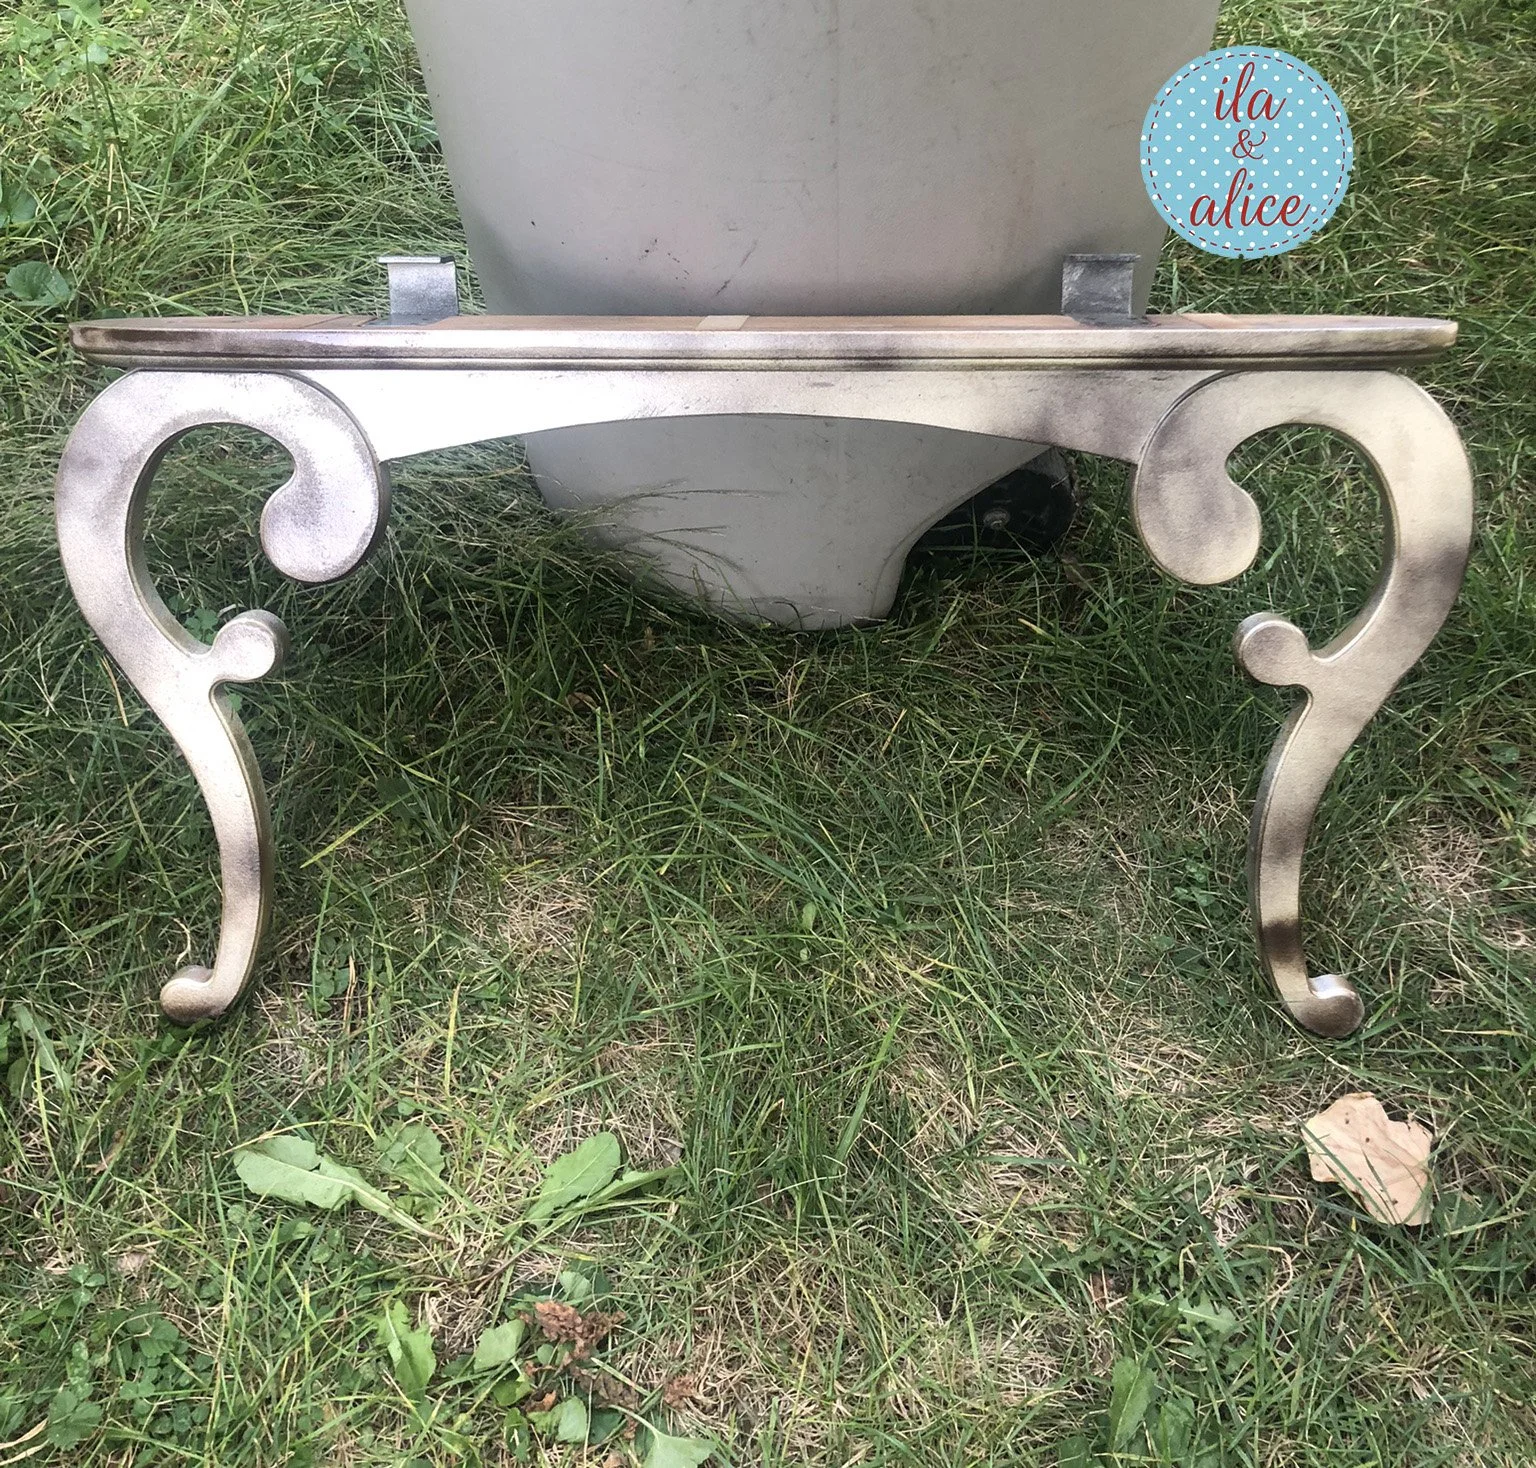
I had fun with the painting process, trying different things and seeing what I got while layering colour over colour. I decided to go more dark in the end but I enjoyed what I learned as I went along.

This was my final colour which is darker then what I had envisioned at the beginning but I really like how it turned out.

With the frames painted and finished it is time to get the image done for behind the mirror.
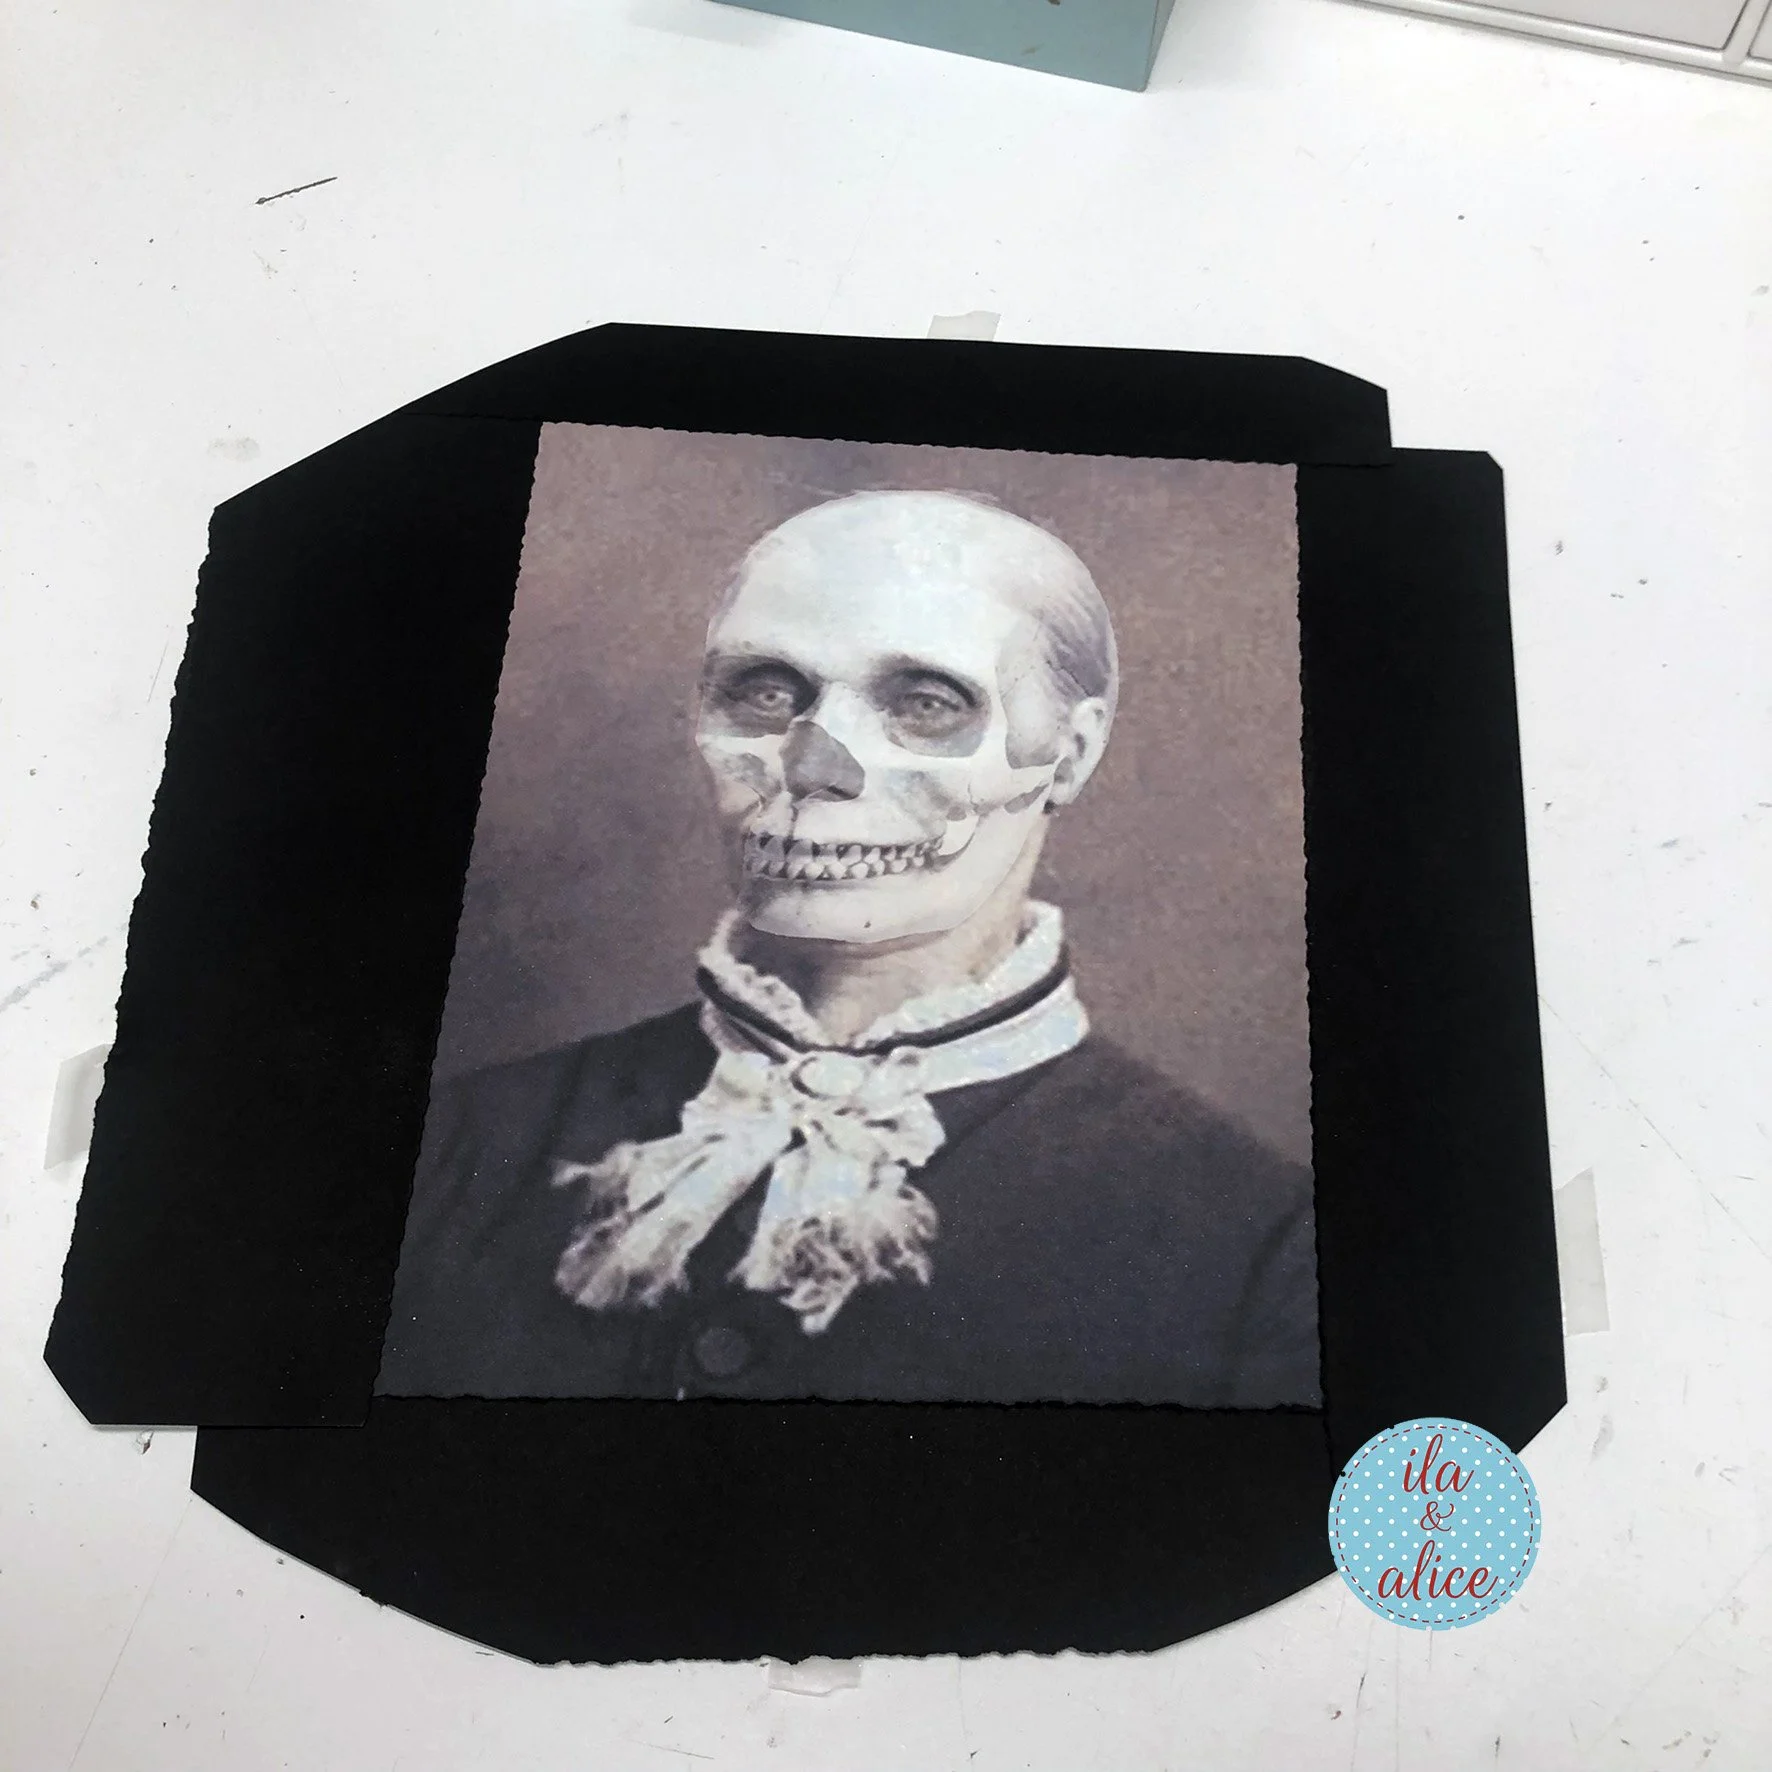
I added a black frame of sorts (made from black card stock) to help the image blend into the sanded edges of the mirror.

I used a bit of spray adhesive to secure the image to the mirror. I sprayed the adhesive lightly at the edges only so the spray it doesn’t obscure or muck up the view of the spooky ghost face.

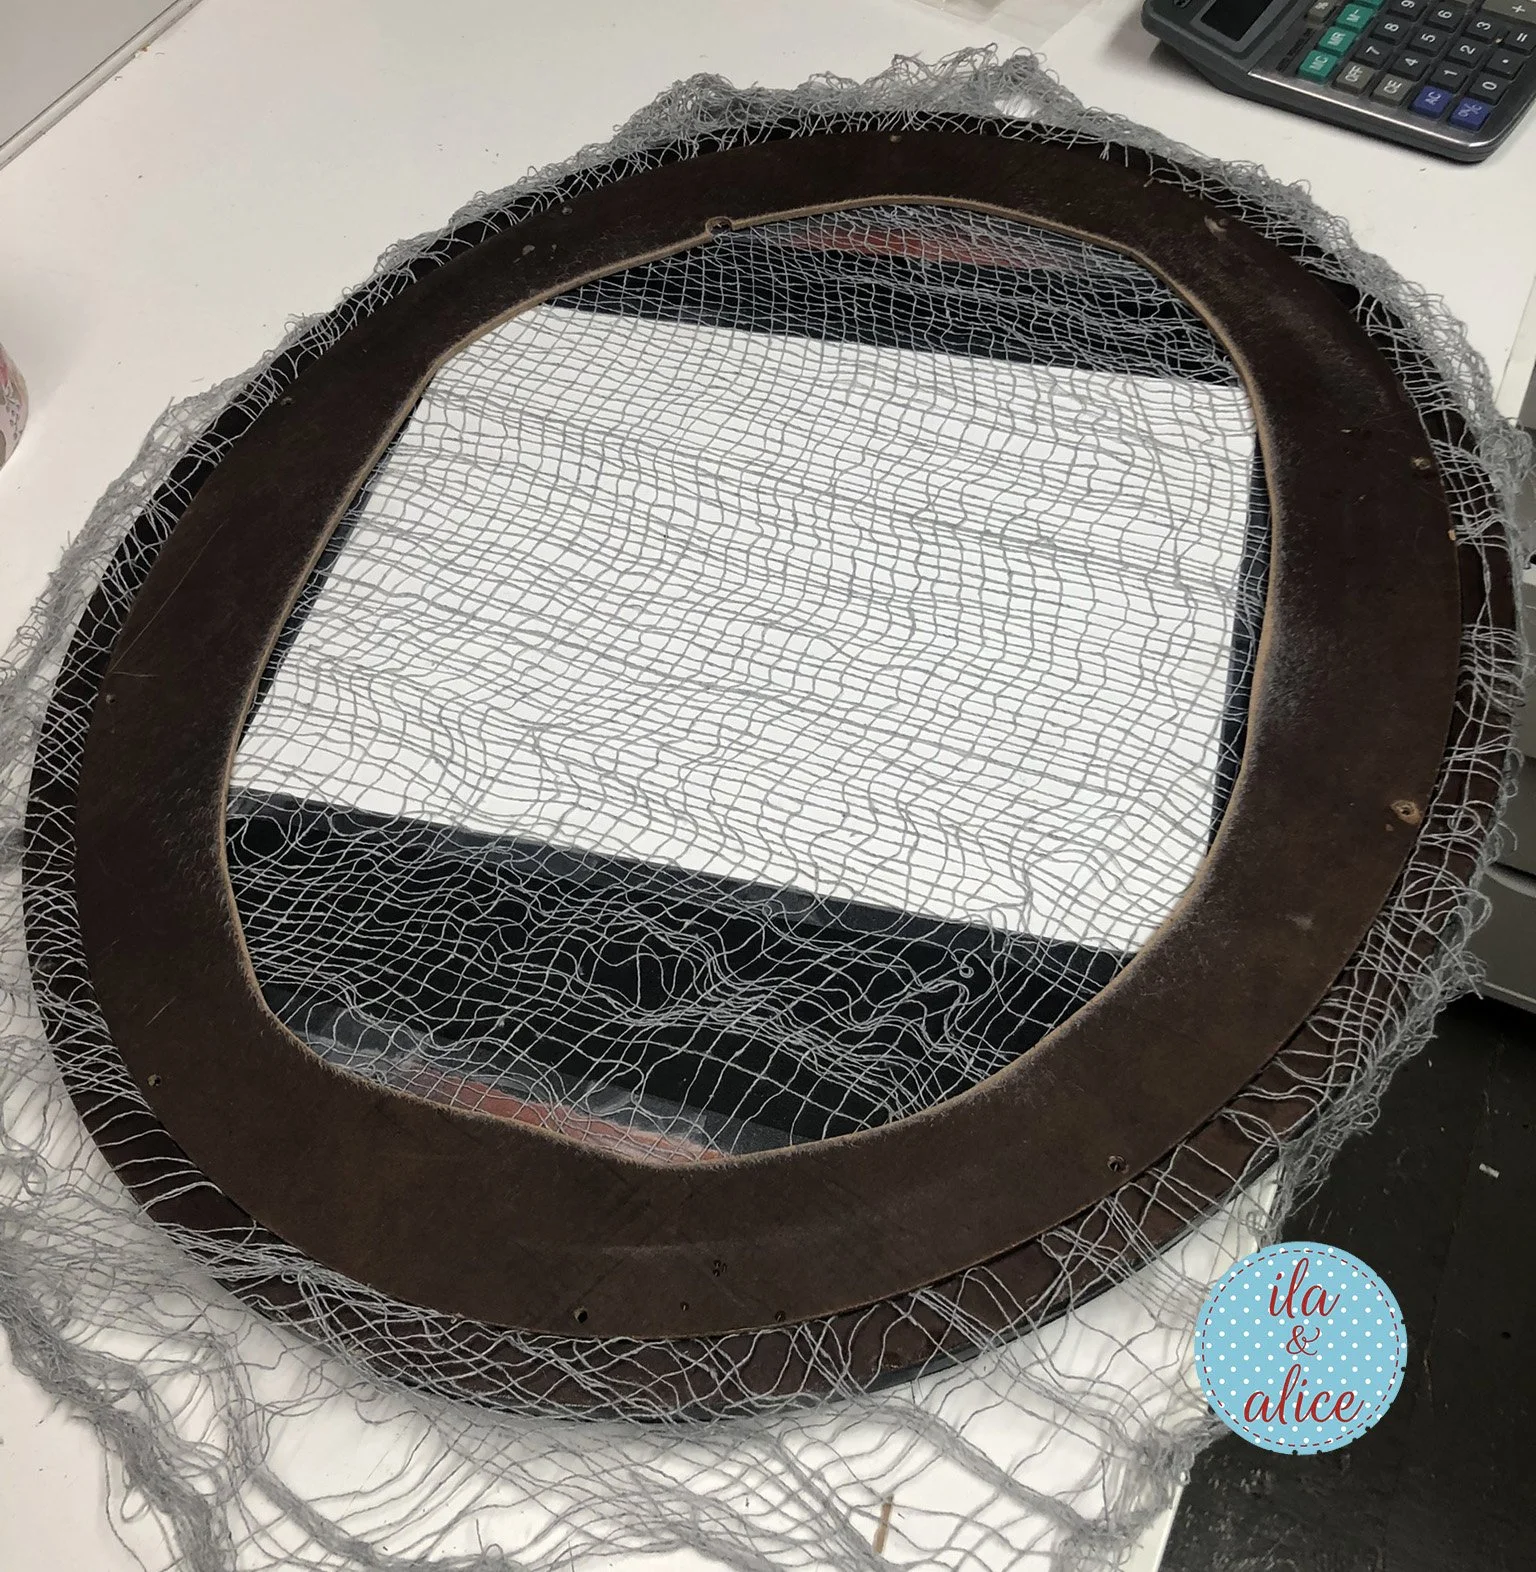
I also decided to attach some of the gauzey-net stuff to the back of the mirror as well.

First I sprayed the adhesive fairly generously on the back of mirror. This stuff is VERY sticky. Spray away from anything important and always use a drop sheet under what you are spraying. I sprayed in my laundry room in the basement. I want the net to hang over the front and down from the bottom so I spread the net generously over the width and length of the mirror.

Pat it down a bit and then let it sit until the adhesive dries.
I screwed down and secured the wooden backing onto the frame to finish.

I am really happy with how this turned out :)
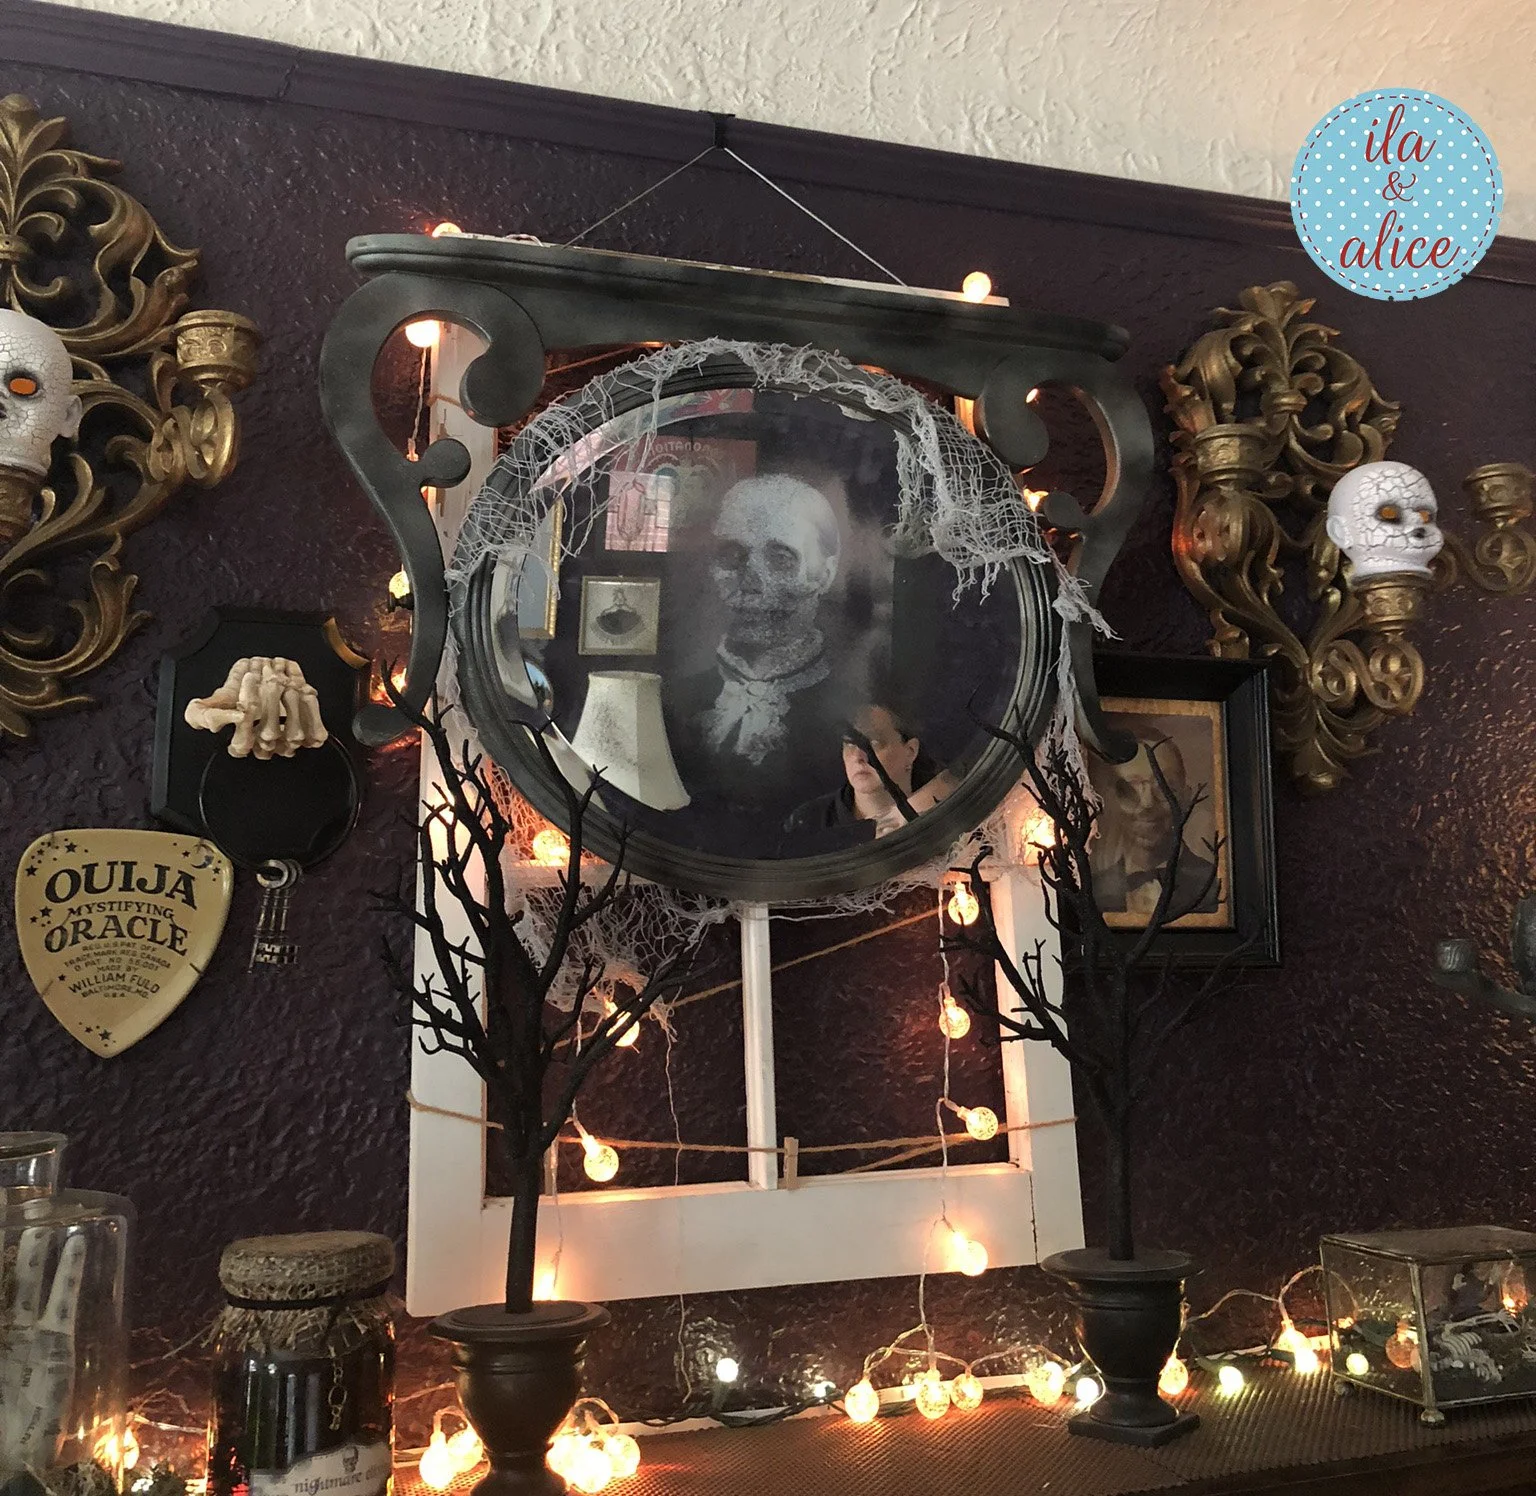
Up over the mantle before I put the rest of the netting on.

I placed some lights behind the frame too to help illuminate the image and add some spooky ambiance. I played with the colour of the lights and how much light until I got the look I wanted.

I couldn’t be happier!! I hope this will inspire you to give this project a try and create a spooky mirror to add to your collection of Halloween decorations.
Thanks for being here!! Lisa :)